

Hello Hello!
Yes I am very much alive and kicking. Given that we had a huge life event take place just a few months ago, I had to prioritize my to-do list and devote all my time to the more pressing demands of our new life. Now that I have finally started feeling less out of my depth, I felt it was time to revive my blog out of the self-induced coma that it was in.
I think that it is rather premature for me to talk about the transition of moving back to India from abroad. I am aware that many NRIs (Non Resident Indians for the uninitiated) follow my posts and will be curious to know about my opinions and experiences. I feel like my perspective will have more credibility after at least a year of living in India. I will definitely talk about it when the time comes and you can count on me to be sincere and unfiltered 😊
That said, I'm peppering this post with some images taken post-relocation. Also, you can follow me on Instagram (@meinblogland) for snippets of our daily life in India.


For most foreigners, Indian food is little more than mango lassi, samosa, curry, dal, naan, biryani and chai. It seems amusing to those of us who are privy to the country's mind-boggling culinary offerings. India is home to over 1.4 billion people, 120 languages, 9 major faiths, 28 states and 8 union territories each containing their own unique landscape, climate, customs and traditions. There is unimaginable culinary diversity and cooking styles throughout the subcontinent along with heavy influences from thousands of years of immigration, trade and conquest.
I'm sure there are enough regional specialities to keep me occupied for the rest of my blogging lifespan but for my first post after relocation, it seems fitting that I pick a dish from my beloved native state KARNATAKA.
Bisi bele bhath (Kannada: ಬಿಸಿ ಬೇಳೆ ಭಾತು) or bisi bele huliyanna (ಬಿಸಿಬೇಳೆಹುಳಿಯನ್ನ) literally translates to "hot lentil boiled rice". It is a spicy, rice-based dish that as I mentioned above, originated in the state of Karnataka, in South India. It is said to have first appeared in the Mysore Palace and it took 100 years for the dish to come out from the place and another 200 years to spread across the state of Karnataka.
The traditional preparation of this dish is quite elaborate and involves the use of spicy masala, toor dal, rice, ghee and vegetables. The masala is a mixture of coriander seeds, chana dal, urad dal, cumin, methi, sesame, poppy seeds, black pepper, cinnamon, dried red chilli, curry leaves, dry coconut, turmeric and hing among others. It is either freshly prepared in households or can be purchased off the shelf at Indian grocery stores. The unique taste comes from a delightful balance of salty, sweet, spicy and sour. Good bisibele bhath will have the tantalizing aroma of ghee and the unmistakable taste of aromatic spices, red chillies, tamarind and jaggery. Some versions of the dish are prepared with up to thirty ingredients!
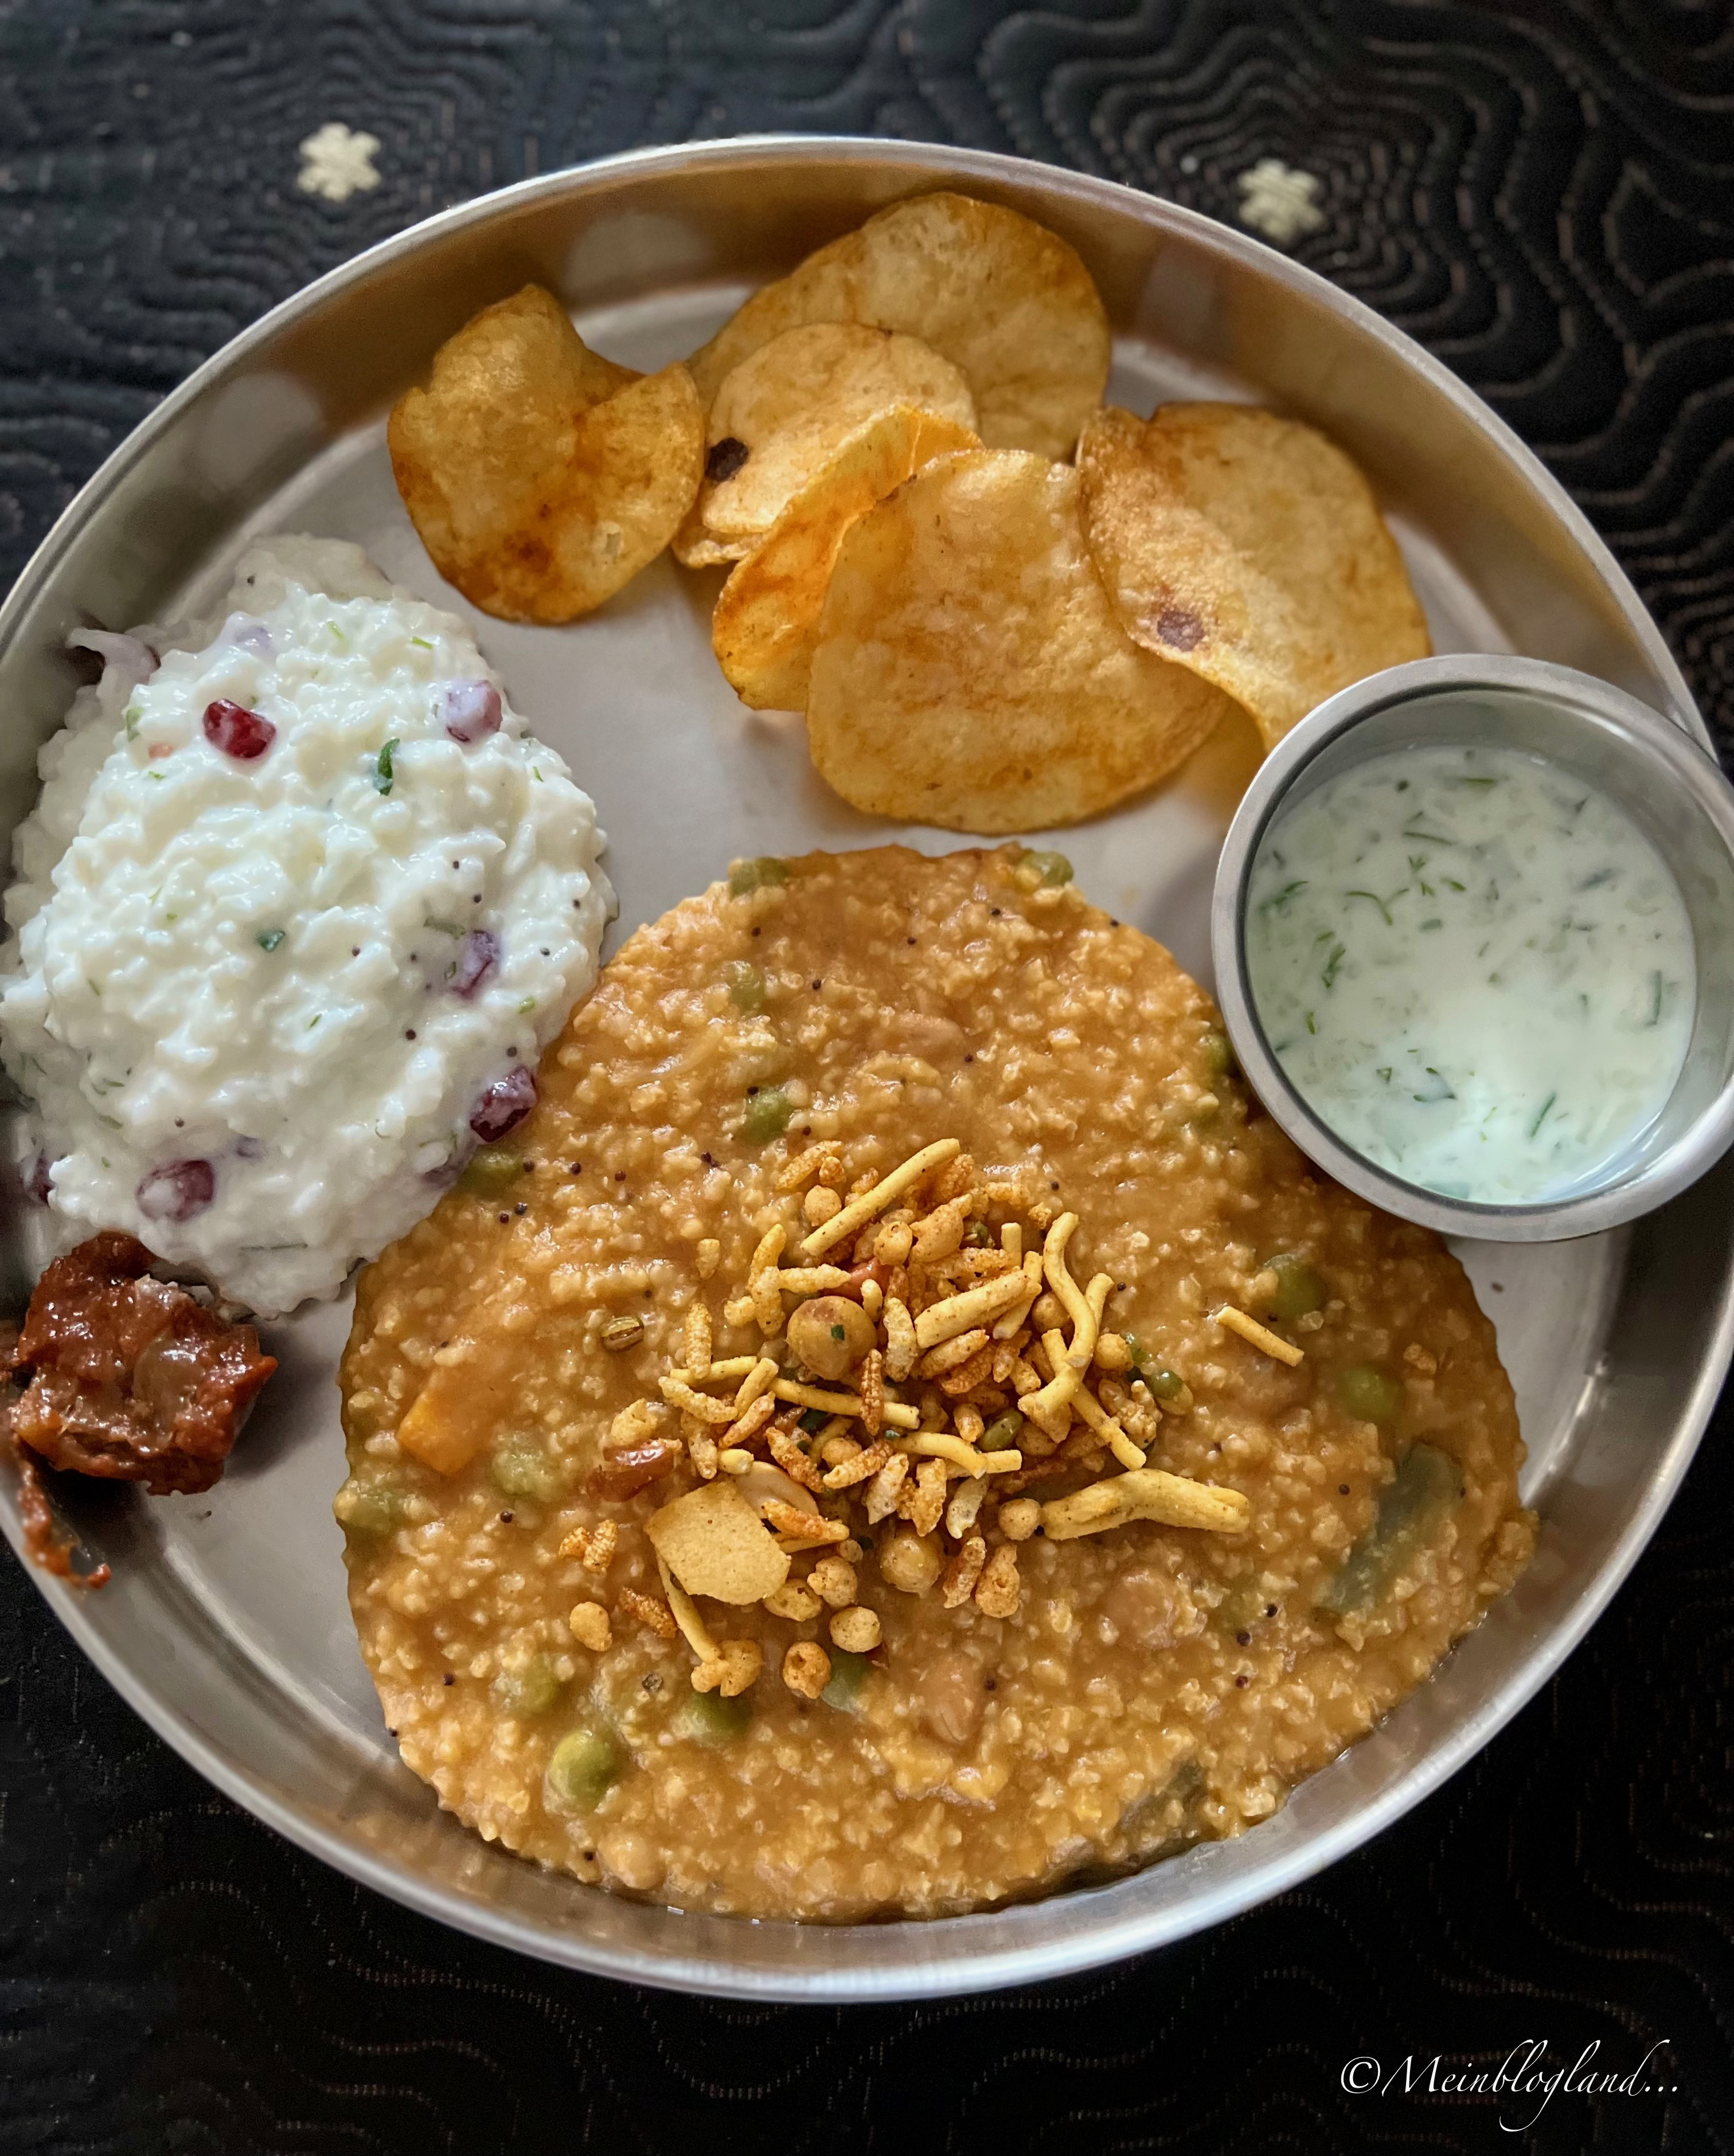
Bisibele bhath is served hot and commonly eaten with savoury crunchy accompaniments like boondi, papad, or potato chips with a salad or raita on the side. This dish is commonly found in restaurants that serve Udupi cuisine.
Having eaten this dish since childhood as a comfort food staple, I can tell you that the taste of bisibele bhath is largely dependent on the masala blend that is used. Homemade is obviously the best (and the fresher the better) but somehow I've never been motivated to make it myself. My mom and MIL make their own masala so when they have it, I get some for myself but most of the time, I use the bisibele bhath masala from a small family-run business in Bengaluru called ooTa tinDi. I store it in a glass bottle in the freezer so it stays fresh for quite long. I've not liked any of the reputed commercial brands available in the supermarket so far so it looks like I am sticking with this masala for the long haul.

This is what a bisibele bhath lunch looks like in my household. We HAVE to have masala chips and raita as accompaniments and we love finishing off the meal with some cooling curd rice (mosranna).
My version of bisibele bhath is a tad unconventional and I will tell you why,
1. I use millets instead of short-grain white rice because millets are more nutritious, easier to digest and give the bisibele bhath a porridge-like creamy consistency which I love. While on the subject of the grain, know that beaten rice (avalakki or poha) can be used to make bisibele bhath instead of rice and it works quite well.
2. I use moong dal instead of toor dal because moong dal cooks faster, turns mushy, is mild in taste and lighter on the stomach. The combination of millets & moong dal means I can have a generous helping or two of bisibele bhath without feeling like I need to do lie down for a few hours after!
3. I use my Instant Pot to make the bisibele bhath. This isn't a big deal really because it is just pressure cooking done with a modern gadget. Feel free to use your trusty traditional pressure cooker. I have made a note at the end of the method section to let you know how to go about it.
4. My family has very specific taste preferences for bisibele bhath so my version reflects that. We also prefer bisibele bhath to be a bit more on the runny side. Please refer the "Notes" section at the bottom for additional information.
Ok folks, mom life beckons so I need to sign off now. Please try this recipe because I have tried and tested it umpteen times to get it the way my family loves it (even my somewhat fussy twins eat it without complaint). I hope it will become a family-favourite in your household too.
More later...
Preparation time: 15 min
Cooking time: ~45 min (includes time taken for pressure to release)
Serves: 6
Recipe category: South Indian/Main Course
Recipe level: Easy-Moderate
Ingredients:
1 cup millet (I use Proso millet but you can use Barnyard, Foxtail or Kodo millet)
1 cup yellow moong dal
1 medium-large red onion, roughly chopped
15-16 French beans, cut into 1-inch pieces
1 medium carrot, cut into 1-inch pieces
1/2 cup green peas (I use frozen peas)
1/3 cup groundnuts/peanuts
5-6 tsp bisibele bhath powder (adjust according to spice preference)
2 tbsp thin coconut milk, Optional
5 tsp jaggery powder or brown sugar
1 tsp tamarind concentrate
~2.5 tsp salt (adjust according to taste)
8 cups water
2 tbsp oil
1 tbsp plus more butter or ghee
For the tempering:
1 tsp mustard seeds
1 tsp urad dal
1 tsp mustard seeds
1 tsp urad dal
a pinch of hing
1-2 dry red chillies, broken
Method:
1. In a large bowl add in 1 cup each of millet & moong dal. Wash really well several times until the water runs clear. Soak together for about 15 minutes.
1-2 dry red chillies, broken
Method:
1. In a large bowl add in 1 cup each of millet & moong dal. Wash really well several times until the water runs clear. Soak together for about 15 minutes.

2. While the millet & moong dal are soaking, prepare the vegetables. Roughly chop the onion and cut the French beans and carrot into 1-inch pieces. If using frozen peas, thaw in hot water and drain.

3. Switch on the Instant Pot and turn on sauté mode. Heat 2 tbsp oil.

4. Fry the chopped onion until translucent.

5. Now add in the carrots and sauté for a minute.

6. Add in the French beans and sauce for another minute.

7. Add the thawed peas and groundnuts/peanuts and season everything with a little bit of salt as you sauté for an additional minute.

8. In a small bowl, add 5-6 tsp of bisibele bhath powder and mix in 2 tbsp or more of thin coconut milk to make a fine paste. Or you can even grind the powder with fresh coconut and water to a fine paste. Alternatively, you can use water instead of coconut milk but I like the flavour that the coconut milk imparts.

9. Add the spice paste to the Instant Pot. Turn the sauté mode to "less" to prevent the spice paste from burning. Now add 5 tsp jaggery powder, salt to taste, 1 tsp tamarind concentrate and give everything a good mix.

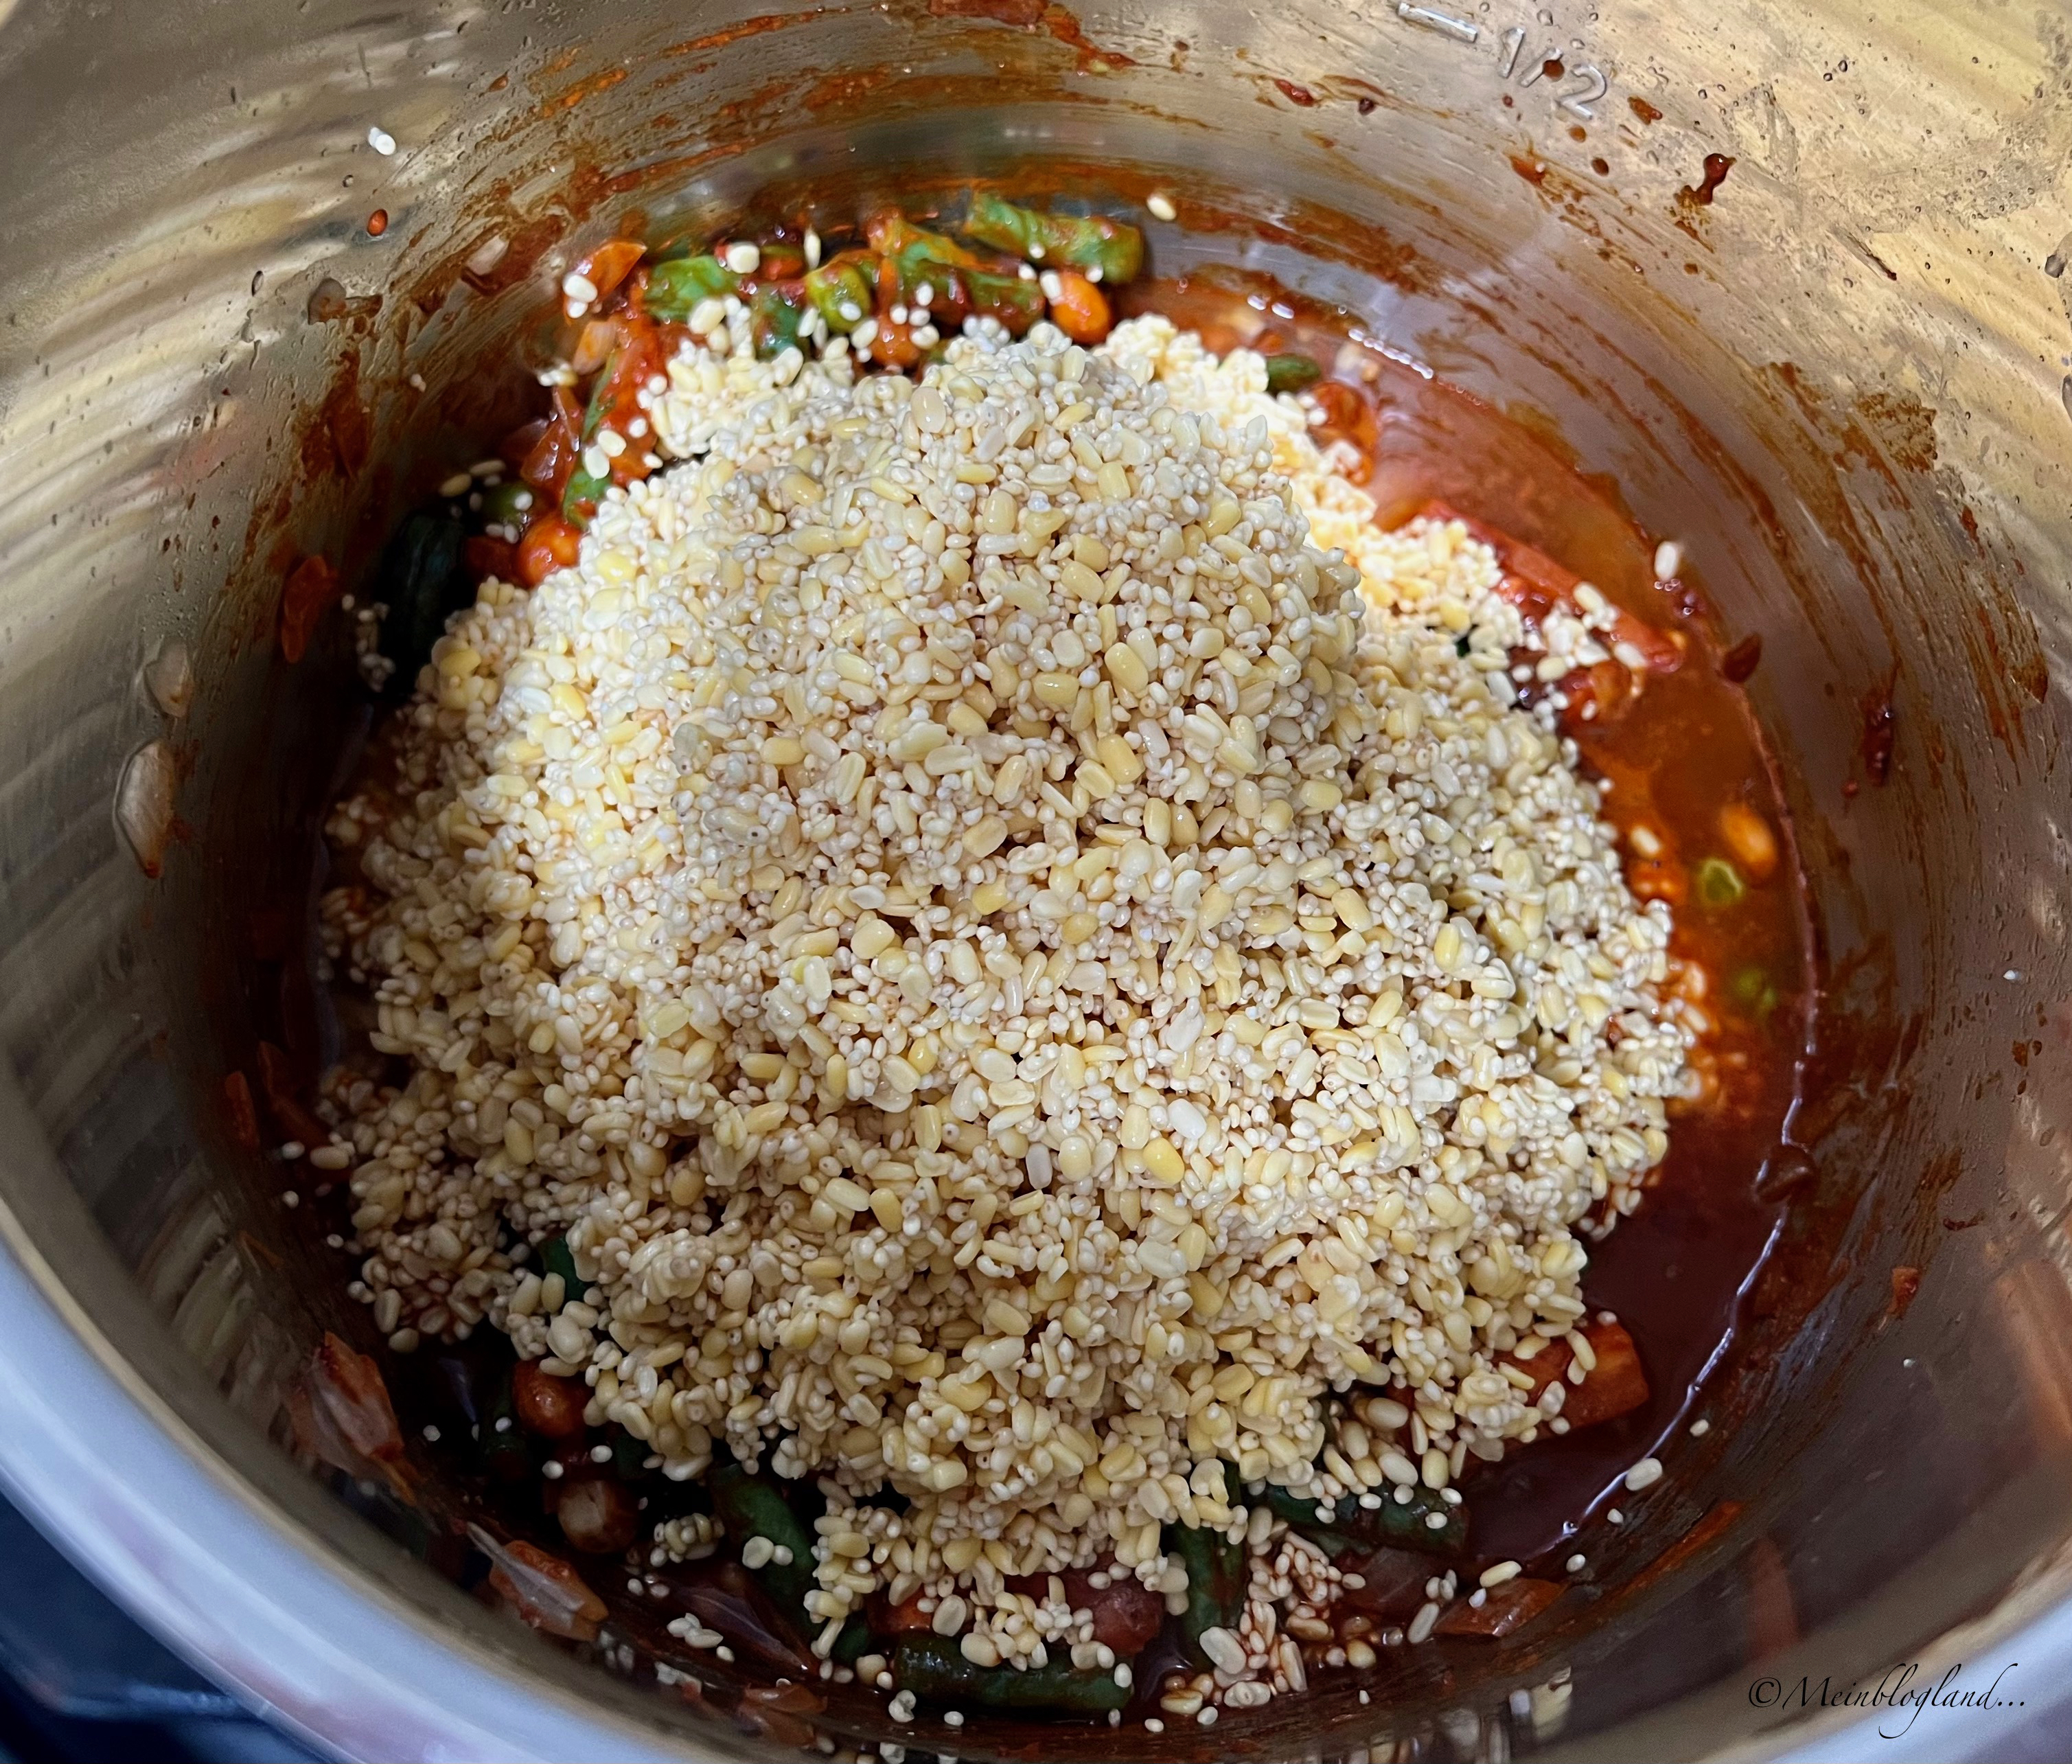
10. Drain all the water from the millets & moong dal and add it to the Instant Pot along with 8 cups of water. Secure the lid on, ensure the steam release handle is in the "Sealing" position and change the mode to pressure cook (normal) for 6 mins.

11. While the Instant Pot is in pressure cooking mode, heat a little ghee or butter and splutter the mustard seeds and urad dal. Once it starts sizzling, add in hing and dry red chillies and sauté till the dal turns light brown. Take off the heat and keep aside.
Note: If you want this to be a completely one pot dish, then make the tempering at the start (before even sauteeing the onions) and keep aside.

12. Once the cooking time is up, allow for natural pressure release or if you are in a hurry, you can do a combination of natural and quick release by turning the steam release handle to "Venting" position. Once the pressure inside the Instant Pot is completely released and it is safe to open, add 1 tbsp butter or ghee and the tempering. Mix well. Taste and adjust the seasoning as necessary.


13. Serve immediately or keep the bisibele bhath in "Keep Warm" mode until the time of serving. Serve along with boondi, chips or mixture and a raita on the side.

Pressure cooker method:
Follow the same steps as above. After you add the millets, moong dal and water to the pressure cooker, close the lid, place the weight and cook for 4 whistles. Wait for the pressure to release naturally, open carefully and proceed with adding the butter or ghee and tempering as described above.
Follow the same steps as above. After you add the millets, moong dal and water to the pressure cooker, close the lid, place the weight and cook for 4 whistles. Wait for the pressure to release naturally, open carefully and proceed with adding the butter or ghee and tempering as described above.
Notes:
- I like to keep my bisibele bhath simple so I don't use that many types of vegetables or overload them. In addition to carrots, beans and peas, potatoes, drumstick, shallots, tomatoes and capsicum are also used in making this dish. Feel free to use the veggies you like (but best to avoid eggplant, okra, broccoli and cabbage) and in larger quantities of veggies if desired
- During avarekayi/avarekalu (hyacinth beans/field beans) season in the winter, you can use them in place of the green peas. I promise you, the bisibele bhath tastes even better!
- I purposely don't use curry leaves in the tempering or garnish the bisibele bhath with fresh coriander as a personal preference but feel free to do so if you wish
- Instead of groundnuts/peanuts, you can use fried cashews
- To make this dish completely vegan, omit butter and ghee or use vegan substitutes of the same
- If you want the consistency to be thicker then add a cup of water less than indicated in the recipe
- Bisibele bhath tastes best fresh off the stove. If it sits around longer or is put into the fridge, the consistency becomes thicker and the taste mellows considerably. You can always add a little water and reheat it but it just isn't the same
You may also be interested in other Karnataka-specialities,
Cheers,
Megha
Megha

No comments:
Post a Comment
What do you think of this post? You can leave a message to let me know. Thanks!
Please note that I reserve the right to delete any comments that I deem inappropriate, offensive, spam or self-advertising. I appreciate your understanding in this matter.