

The Nanaimo bar is a dessert item of Canadian origin. This no-bake dessert is named after the city of Nanaimo, British Columbia, on Vancouver Island. It consists of three layers: a wafer and coconut crumb-base, custard flavoured butter icing in the middle and a layer of chocolate ganache on top. Many varieties exist, consisting of different types of crumb, different flavours of icing (e.g. mint, peanut butter, coconut, mocha), and different types of chocolate.

The idea for trying out the recipe had been lurking somewhere in the depths of my mind all these years. It wasn't until last week while casually browsing instagram, these Nanaimo Bars popped up on my feed and propelled me into action. With Valentine's Day around the corner and all things chocolate gaining all-round favour, I thought there couldn't be a more perfect time to make these for my family.
With a crunchy and nutty texture on the bottom, creamy sweet custard goodness in the middle and decadent chocolate on top, I can completely understand why these bars are so popular. And although I imagined that these bars would taste cloyingly sweet, they were actually just right (for me) so that turned out to be another win. My husband and kids loved them too so I feel a bit silly waiting so long to try the recipe 😝


Now, if you have followed my previous Valentine's Day posts, you will know that I don't attach any special significance to this day. It is like any other day (except that I eat more fancy than usual and subsequently get high on sugar). I genuinely believe that I am an affectionate person by nature and I do try my best to make those dear to me happy on a daily basis. And when it comes to food, they way I express my love is loud and clear 😁
That being said, I do have a tradition of making a special dessert on this day every year. It is just something that I like doing and it makes my family happy, so heck, why not right? If you are like me and plan to whip up a sweet treat for a loved one, then you cannot go wrong with these Nanaimo Bars. In case you want to try some other dessert, I have recipes for all kinds of cakes, cupcakes, pies, brownies, tarts, fudge and cookies in the recipe archives so take a good look around okay?


I took my own sweet time to make this dessert and so it ended up being a leisurely task. The blog post on the other hand was a completely different story. I had no other time to photograph the dessert except for a busy weekday morning (that also happened to be cloudy) so in the midst of getting ready for work and attending to the kids, I did the best I could. And did I mention, my kids were climbing all over me to get "good pictures" of my creation with their little cybershot camera? 😀 I've spared you from my characteristic ramblings in this introduction of this post because, I honestly didn't have time for any of it.
Happy Valentine's Day to you and yours 💖
Nanaimo Bars
Happy Valentine's Day to you and yours 💖
Nanaimo Bars
Preparation time: 30-40 mins
Setting/Refrigeration time: Minimum 3 hours or more
Makes: 16 squares
Recipe category: Canadian/Dessert
Recipe level: Easy
Recipe source: Adapted from here
Bottom Layer (Crunchy Biscuit Layer)
Ingredients:
1 1/4 cups graham cracker crumbs
1/2 cup walnuts, very finely chopped
1 cup desiccated coconut or coconut flakes
1 egg, lightly beaten
1/2 tsp vanilla extract
1/2 cup unsalted butter
1/4 cup brown or refined white sugar + optional 1 tbsp extra (if more sweetness is desired)*
4 tbsp unsweetened cocoa powder
*Note: If you are using sweetened coconut flakes and/or sweetened cocoa powder, avoid the extra 1 tbsp sugar. Add it only if you like this layer to be a bit more on the sweeter side.
Method:
1. Get all the ingredients measured and ready. Grease and line a 8″ x 8″ square pan


2. Process the Graham crackers in a food processor and measure to 1 1/4 cup
3. Melt butter, brown sugar and cocoa powder in a pot/dish placed in a double boiler setup. Make sure the water in the below pot is barely simmering and there is sufficient gap between the surface of the water and top pot (they should NEVER be in direct contact).

4. Add egg and vanilla extract and stir to cook and thicken. Make sure the eggs don't get scrambled. Remove from heat.
5. Stir in crumbs, desiccated coconut and nuts.
6. When it is warm. Press firmly into the parchment-lined 8″ x 8″ pan.


7. Cover with cling wrap and refrigerate for at least 1 hour before making second layer.
Second Layer (Creamy Layer)
Ingredients:
1/2 cup unsalted butter
2 1/2 tbsp whipping cream
2 tbsp Bird's custard powder or vanilla instant pudding mix
2 cups icing sugar, sifted
Method:
Whisk the butter until it is light and fluffy. Mix in the icing sugar till combined. Add in the custard powder, whipping cream and a pinch of salt and whip using a hand mixer or stand mixer until it becomes light and fluffy. Spread over bottom biscuit layer. Cover with cling wrap and refrigerate for at least 1 hour before making third layer.


Third Layer (Chocolate Layer)
Ingredients:
4 oz semi-sweet chocolate
2 tbsp unsalted butter
Method:
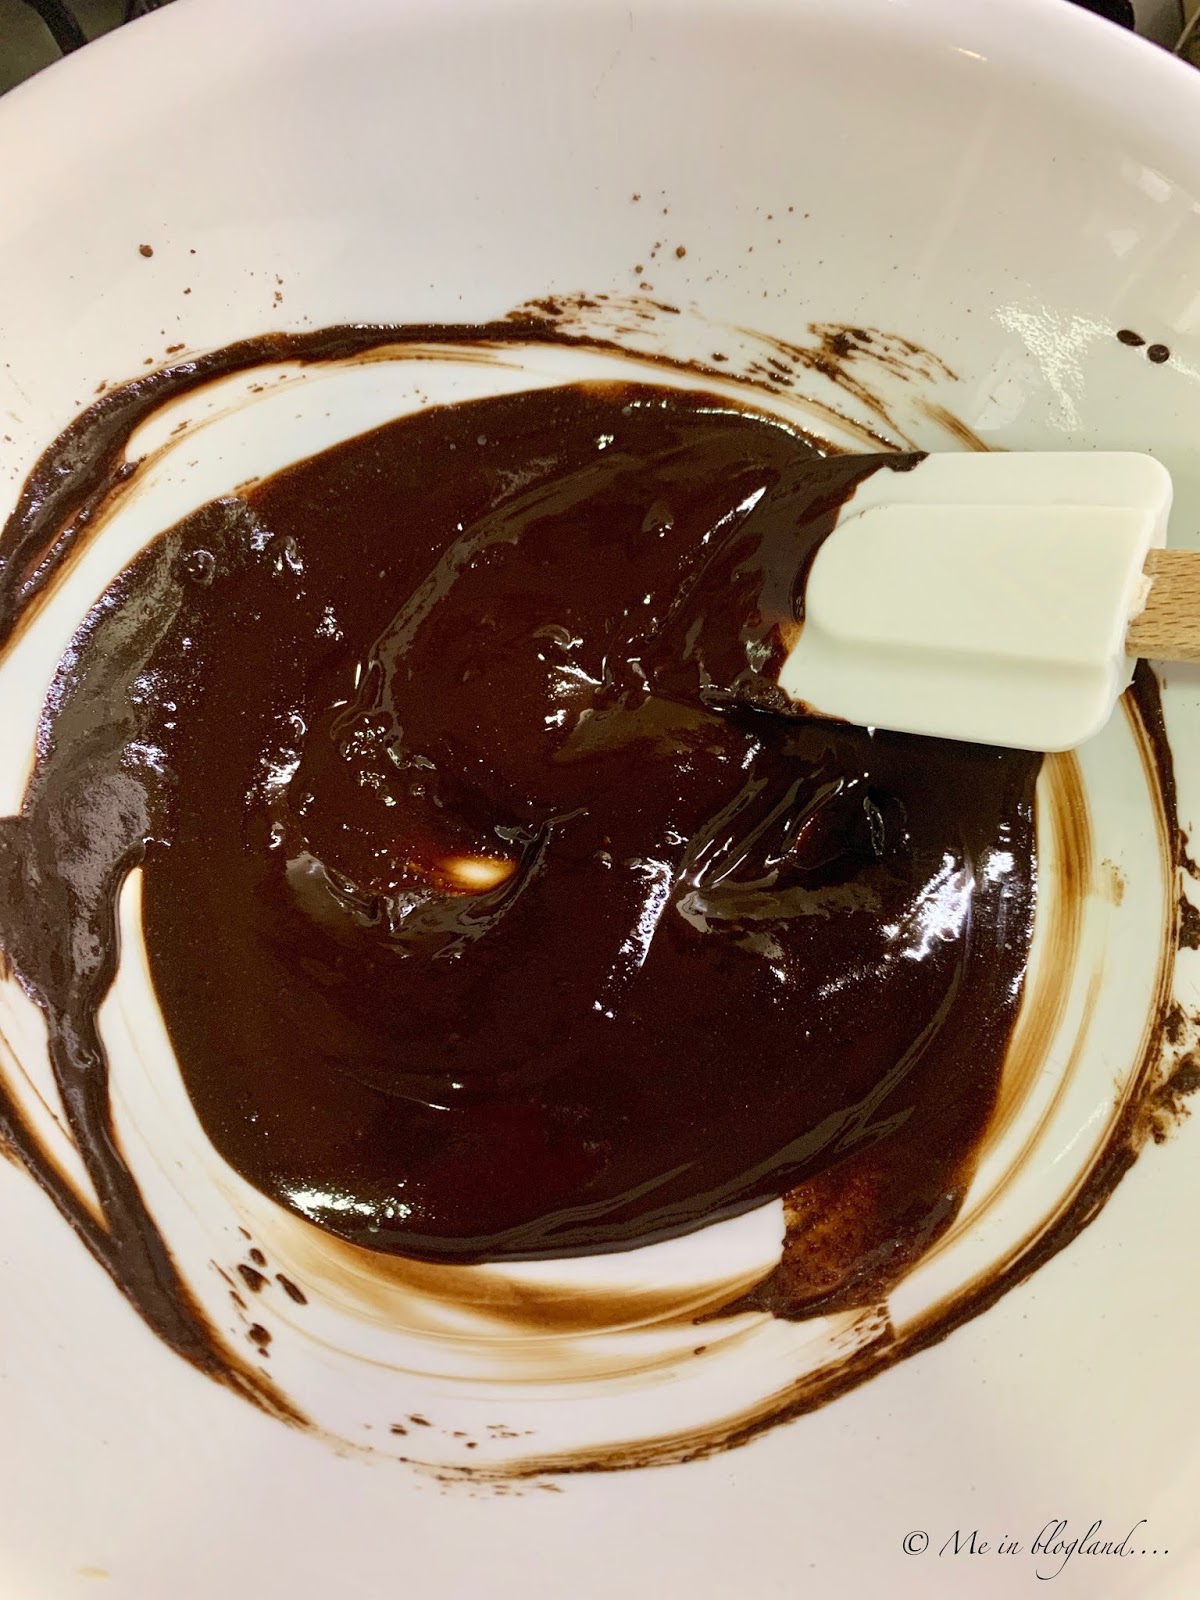
1. Melt chocolate and butter over low heat on the stove top. Or you could microwave them together in two 40 second intervals with stirring in between until completely melted.


2. Pour over second layer and chill in refrigerator until set. Do this step quickly otherwise the chocolate will start to harden.
3. Take out the dessert 10 mins before you want to slice it. Cut squares with a sharp warm knife (I dipped my knife into water that I boiled in a kettle and gave it a quick wipe before slicing).


4. Enjoy

Notes:
- If graham crackers are not available, you can use any rich tea biscuit (like McVities or Marie)
- Instead of walnuts, you can use blanched almonds or pecans
- If you want to cut down on the sweetness of this dessert, use 70% dark chocolate for the third (top) layer
- Take out the completely set dessert 10 mins before slicing it
- Cut with warm knife for perfect squares
- Put the cut squares back in the refrigerator and take it out just before serving
Cheers,
Megha
Thanks for sharing your thoughts. I really appreciate your efforts and I will be waiting for
ReplyDeleteyour next post thanks once again.
What does the mattress topper do?
ReplyDeleteA Mattress Topper is used to noticeably change a mattress' feel and provide extra pressure relief. Toppers can also revitalize an old mattress or lengthen the life of a new one. A mattress pad can make a bed feel slightly more plush, but it won't alter a mattress' firmness level.